
Sherri says her work space is no good...

Cramped and not enough room

So off we go to Home Depot!

By way of In-N-Out

First, install a Ledger.
In this case a 2 x 4

Make sure everything is level.

A good saw works wonders!

Install the ledger all the way around.
This is a Floating Desk - uses no legs
Be sure to drill into studs.
We used lag bolts for that.

Use Simson Strong Ties on the corners.


Then kinda build out a frame

Kinda like a skeleton for support

Make sure it is strong!
Gotta trust your work.
If it can hold me, it can hold a monitor...

This is 3/4 inch oak plywood.
Conditioned and not.
This will make the desk top.

Little holes for the wires to go through underneath...

Hole Saw on a Super Drill

Get good tools and let them do the hard work for ya!

We stained with MinWax Espresso
This is a test piece.
Then we stained the large pieces.

While the stain dries, built out the frame

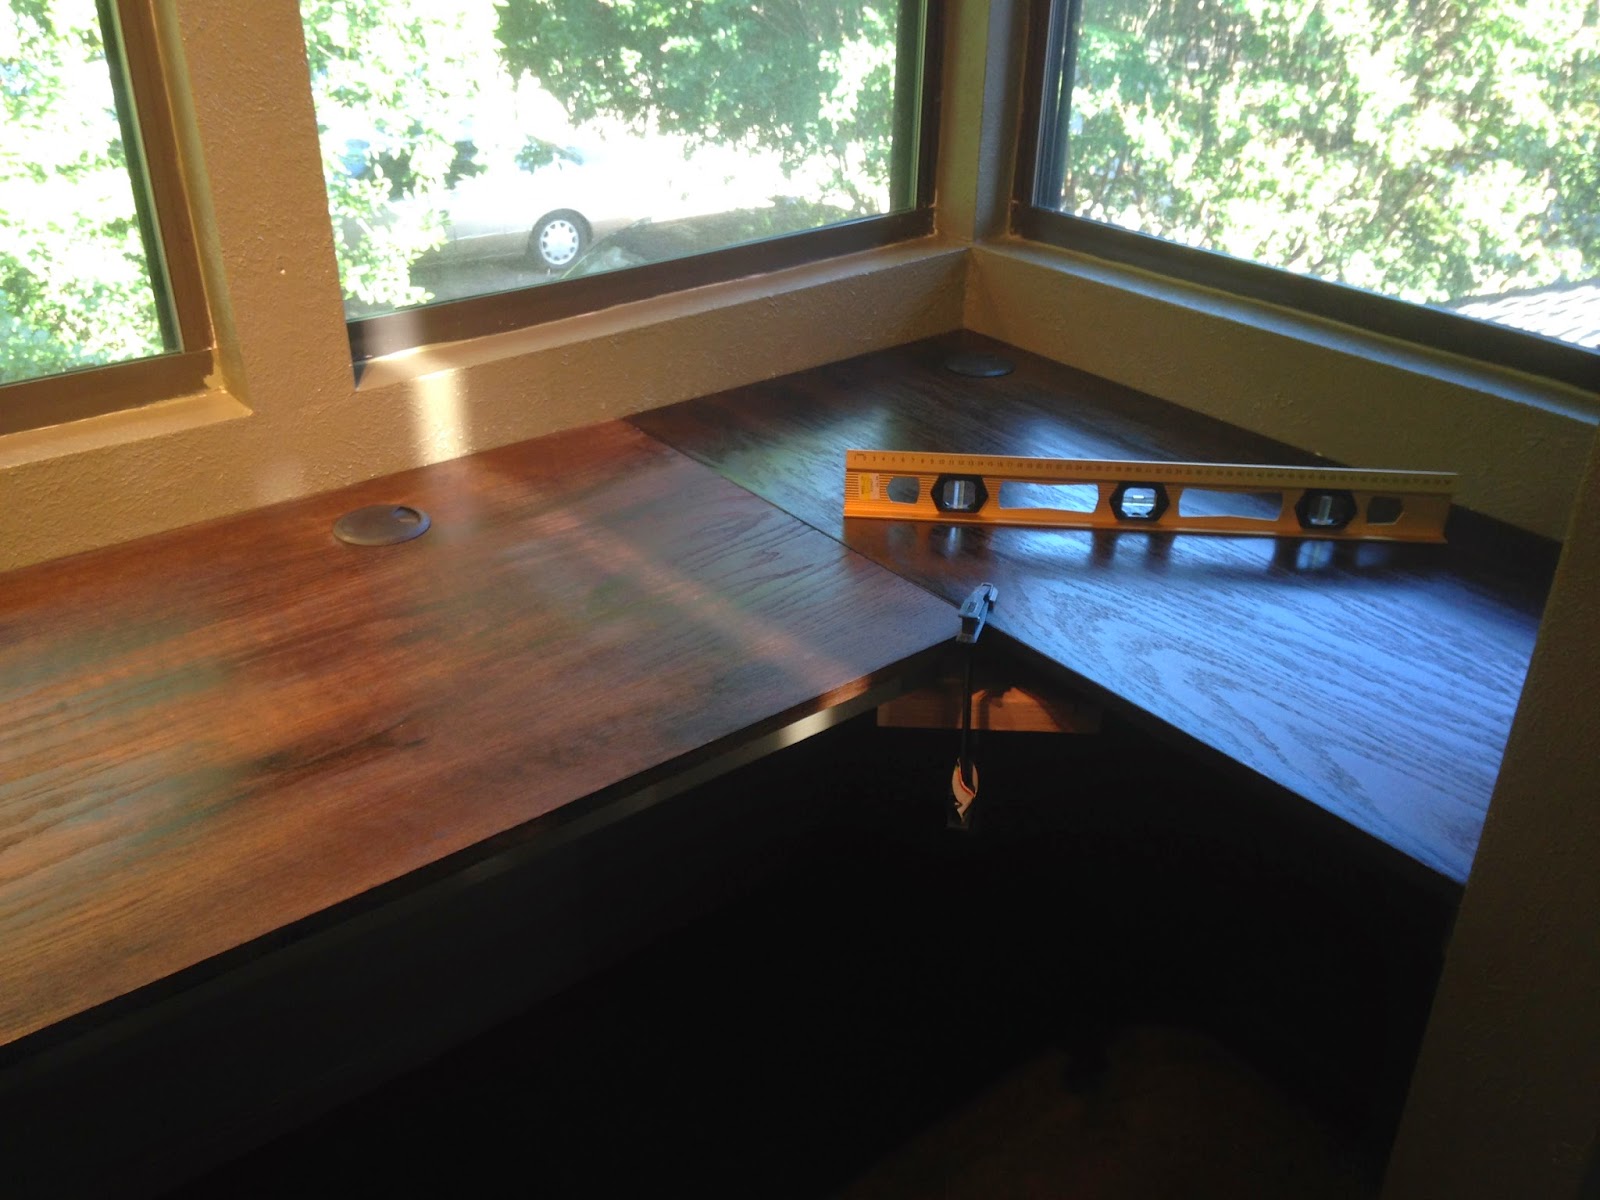
Dry fit it all
And yes - it fits!
Walls are almost never square - everywhere.

We used Simpson ties AND went in with 3 inch screws
To join the wood framing

These L brackets will support the desk top

Looks very good

Might as well paint

While we wait for the MinWax to dry.
Now the little office will have a fresh new start!

Reinforce every gap and check every angle

Put the stained table top back on.
Check for level.

Clamps for the Glue

Lining up the seams is tricky.
But we were lucky.

Now attach the L brackets from underneath

Also used Gorillia Glue
The sides will receive molding
And this project turned out great!

All done - still no legs

And we all still get along!

Add a computer keyboard tray


The new desk and new paint -
Looks great!
Ready for a new year at school!

Yep
Two days well spent.

Kitteh approved!
~update~
one week later!

A week later, Sherri is getting all moved in
And the desk has not collapsed! (yay!)

The Back desk piece is 25 inches wide and about 10 feet long.
So that leaves a lot of space for storage....
And it gets kinda dark down there.

Rather than always having to stop to find a flashlight,
We got these simple lights from Amazon.
The run on batteries, and adhere with foam tape.

One in each corner.
Problem solved!
You really know your building stuff, Anne! First cooking and nursing and now construction. You did a great job getting me through this project! We'll have to post a picture of the finished thing when all the equipment is back in place. I'm so excited. Room to do a dissertation! I may graduate this school year after all! I owe you BIG.
ReplyDeleteNothing like gal power! Great job ladies!
ReplyDeleteMy comment was eaten. So dismayed. LOL! The gist of it was I had no idea what any of that meant except for burger…but I can tell you ladies created a desk where there was no desk before. Fabulous!!!
ReplyDeletethat is just awesome, I absolutely love it!
ReplyDeleteIs there no end to your talent...........love this! xo
ReplyDeleteFantastic work. And you still get along!!!!!
ReplyDeleteYes - and we STILL get along!
Delete